EN
EN


Anatomical Placement of the Patient Gait Belt for Safety and Control
Identifying Key Landmarks: Iliac Crests, Lumbar Vertebrae, and Abdominal Contour
Getting proper positioning right starts with feeling for key body structures. Find those bony prominences called iliac crests which are basically the top edges of the hip bones, plus the lumbar vertebrae area right in the middle back where the ribs meet the pelvis. Place the gait belt across this region so it sits centered over the lower back muscles instead of resting on softer belly tissue. This spot works best because it can handle weight distribution properly without putting pressure on internal organs, the breathing muscle called diaphragm, or blood vessels near the hips. According to research published last year in Clinical Rehabilitation, nearly four out of five injuries related to gait belts happened when they were positioned incorrectly either too high or too low on the body, leading to extra strain on caregivers and increasing risk of patients falling down.
Why Mid-Lumbar Positioning Reduces Shear Force and Protects Spinal Integrity
Putting the belt right around the middle of the lower back helps spread out the lifting force across the whole body. When care workers grab those handles during patient transfers, positioning it correctly actually reduces what's called vertical shear on the spinal discs. This matters because it stops any unwanted shifting into delicate blood vessels in the chest area or pelvis region. For people with osteoporosis, proper placement cuts down their chance of breaking bones by almost two thirds according to research from the Journal of Geriatric Physiotherapy back in 2022. On the flip side, if someone puts the belt wrong - say over the bottom ribs or up near those bony prominences on the hips - all sorts of problems happen. Pressure gets concentrated in one spot instead of being distributed properly. Slip hazards go way up, about three times higher than normal. And worst of all, the spine just isn't stable enough when moving around normally.
Achieving Secure Yet Comfortable Tightness on the Patient Gait Belt
The Two-Finger Rule: Clinical Rationale and Proper Application
Getting the right tension on a patient gait belt means finding that sweet spot between keeping them safe and making sure they're comfortable. The two finger rule works well here. Clinicians can check if the belt is properly snug by trying to slide two fingers horizontally between the belt and the patient's back around the lower lumbar area. Following this guideline helps avoid cutting off blood flow while still providing enough support during transfers. It also leaves room for normal breathing movements and stays within what the body tissues can handle without damage. When checking the fit, make sure to do it over whatever clothes the patient is wearing and have them stand straight up. Don't forget to double check after any position changes because when someone goes from lying down to standing, their abdominal muscles shift and can affect how tight the belt feels. Hands on practice really makes a difference here, especially when working with older adults or those who have delicate skin that might be easily injured.
Risks of Over-Tightening or Looseness: Skin Breakdown, Respiratory Restriction, and Slippage
Incorrect tension introduces three primary hazards:
- Skin breakdown: Excessive pressure causes ischemia—especially over bony prominences—in thin-skinned, malnourished, or diabetic patients.
- Respiratory compromise: Over-tightening reduces diaphragmatic excursion by 15–30%, worsening dyspnea in COPD or postoperative patients.
- Slippage incidents: Loose belts migrate during transfers, increasing fall risk by up to 40% and forcing unsafe compensatory gripping by caregivers.
Immediate adjustment is required if redness, induration, or labored breathing develops. Because optimal tension dynamically shifts with posture, activity level, and fatigue, ongoing assessment—not just initial fitting—is critical to safe mobility.
Dynamic Fit Verification Throughout the Mobility Process
Pre-Ambulation Check: The 3-Point Stability Assessment
Before initiating movement, conduct a systematic 3-point stability assessment:
- Visual alignment: Confirm midline positioning over the lumbar vertebrae while the patient stands upright.
- Tug test: Gently pull posteriorly on the handle to verify belt anchorage without skin displacement or horizontal slippage.
- Hip clearance: Ensure two fingers fit comfortably between the belt and bilateral iliac crests—confirming even weight distribution and adequate clearance for hip flexion.
This protocol reduces fall risks by confirming secure, balanced load transfer and mitigating shear forces during early weight-bearing. Clinical data shows consistent use of pre-mobility checks lowers transfer-related incidents by 34% in rehabilitation settings.
In-Motion Monitoring During Transfers and Gait Training
It's important to keep watching and feeling what's happening during any mobility work. The caregiver should stay with one hand on the back handle at all times. Watch closely for when the belt starts riding up, moves sideways, or creates uneven tightness on either side panel these are telltale signs someone might be leaning improperly or their muscles are getting tired. Stop right away if there are red marks showing up on the stomach area, strange looking skin folds, or changes in how they breathe. Staying alert as things happen makes it possible to catch problems early before they become serious issues like skin damage from friction. Keeping track this way helps maintain proper body mechanics throughout the whole transfer process.
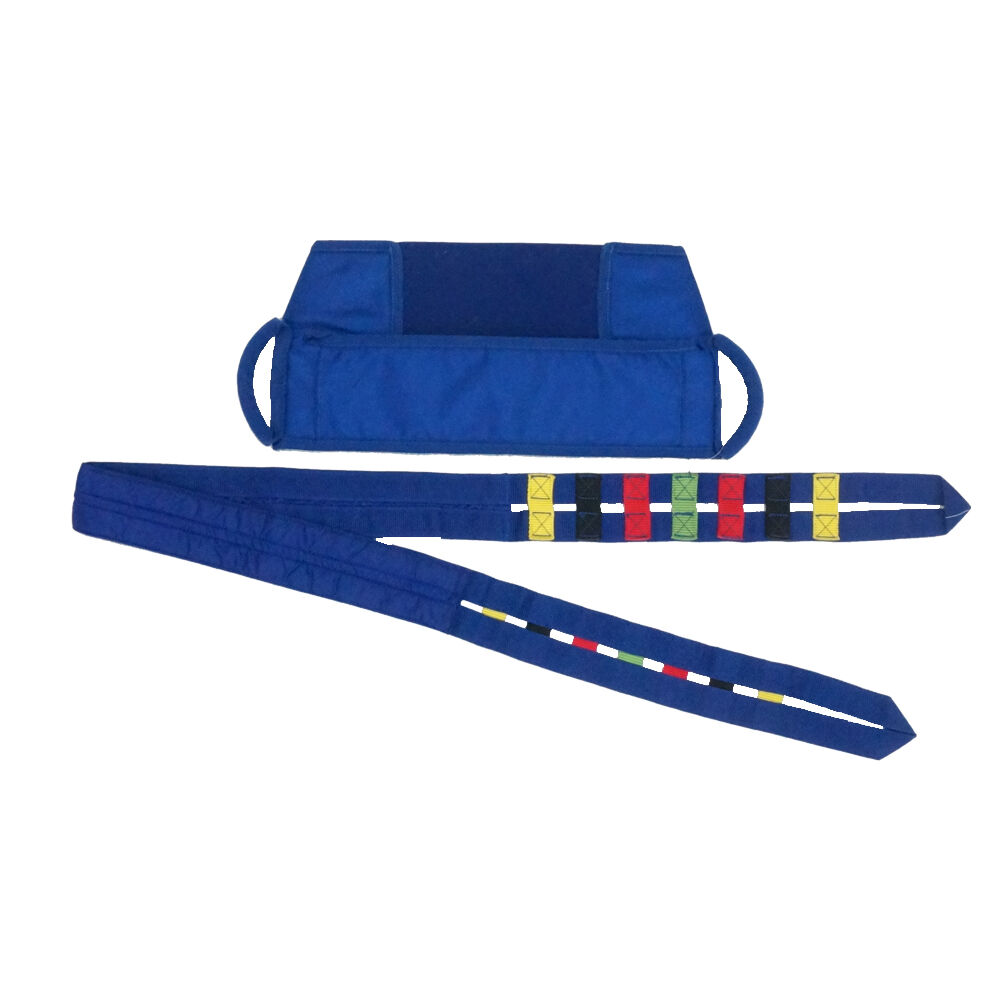
Selecting and Maintaining the Right Patient Gait Belt for Consistent Fit
Picking out the right patient gait belt means looking at several important things about the individual: how big around their waist is, what they weigh, and how mobile they can be. If a belt is too short, it limits movement when helping someone transfer from one place to another. On the flip side, if it's too long, caregivers lose control and there's a higher chance of getting tangled up. Most regular sized adults will work fine with a 60 inch belt for waists up to about 54 inches. But for bigger patients, we usually need those longer 80 inch versions that come with extra strong stitching and heavy duty buckles to hold up better. Look for models with quick release closures and comfortable handles shaped to fit the hand properly. These features make all the difference in preventing skin irritation during position changes and giving staff a firmer grip when needed.
Regular maintenance matters just as much as proper usage when it comes to these devices. Check the webbing every month for signs of fraying, make sure the stitching holds together well, and test if the buckles still work properly. Cleaning should follow what each facility recommends specifically. The good news is that vinyl belts can handle some bleach solution without issues, but nylon ones need gentler treatment with warm water only to keep them strong enough for their job. Any belt that shows wear and tear in the fabric, has bent or damaged buckles, or where the padding feels squishy instead of firm needs replacing immediately. Studies from rehab centers show that sticking with this routine cuts down fall incidents by around 34%. That means safer patients during transfers and walks, plus peace of mind for staff who know they're not risking anyone's health because equipment failed unexpectedly.
Frequently Asked Questions (FAQs)
Why is the mid-lumbar positioning preferred for a gait belt?
The mid-lumbar positioning of the gait belt reduces shear force on spinal discs and protects spinal integrity. This placement distributes lifting force properly and minimizes pressure on delicate blood vessels, helping to reduce the risk of injuries during patient transfers.
What is the "Two-Finger Rule" in securing a gait belt?
The Two-Finger Rule suggests that clinicians check the snugness of the gait belt by sliding two fingers horizontally between the belt and the patient's back around the lower lumbar area. This ensures the belt is not too tight, preventing restricted blood flow and providing adequate support during transfers.
How often should a gait belt be inspected and maintained?
Gait belts should undergo regular monthly inspections to check for signs of fraying, stitching integrity, and buckle functionality. Cleaning should follow specific facility recommendations, with vinyl belts tolerated by bleach solutions and nylon belts needing gentler cleaning.
Table of Contents
- Anatomical Placement of the Patient Gait Belt for Safety and Control
- Achieving Secure Yet Comfortable Tightness on the Patient Gait Belt
- Dynamic Fit Verification Throughout the Mobility Process
- Selecting and Maintaining the Right Patient Gait Belt for Consistent Fit
- Frequently Asked Questions (FAQs)